
How I built my Astro Blog from scratch? Part 1
Astro is the newest javascript based static generator framework on the scene. And if you read more then you'll find out why I am excited about this new web framework.
What is Astro?
Astro is an all-in-one web framework for building fast, content-focused websites.
What I like about Astro?
You can create a fantastic developer experience by utilising React, Angular, Svelte, or Vue individually or in combination at any stage of the project.
Astro stands apart from other static site generators thanks to its superior support for on-demand JavaScript loading.
Progressive Enhancement/Partial Hydration is the name of the idea. Astro believes that your website will always be static and offers the ability to load JavaScript just as and when necessary, in contrast to other suitable frameworks like Next.js or Gatsby.
Along with all of that, Astro includes built-in support for
- Component Islands: A new web architecture for building faster websites.
- Server-first API design: Move expensive hydration off of your users’ devices.
- Zero JS, by default: No JavaScript runtime overhead to slow you down.
- Edge-ready: Deploy anywhere, even a global edge runtime like Deno or Cloudflare.
- Customizable: Tailwind, MDX, and 100+ other integrations to choose from.
- UI-agnostic: Supports React, Preact, Svelte, Vue, Solid, Lit and more.
If that introduction piqued your attention, then let's move ahead and build something with it.
Getting started with Astro
Start by creating a brand-new directory for your project, then go there:
mkdir astro-blog-starter
cd astro-blog-starter
Open up your terminal and run either of the following commands based on the package manager of your choice.
# create a new project with npm
npm create astro@latest

# create a new project with yarn
yarn create astro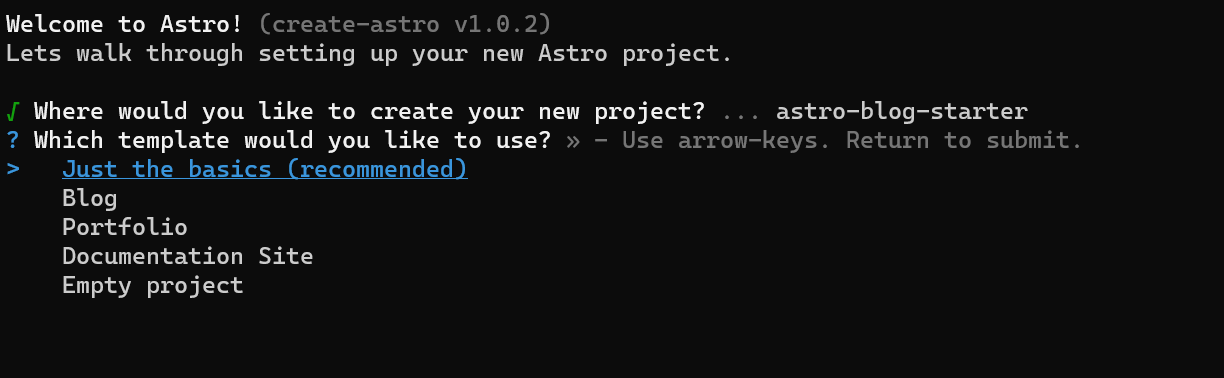
You can choose a template of your choice and then follow the instructions given to install dependencies.
npm installThen you can start the server:
npm run devIf all goes well, Astro should now be serving your project on http://localhost:3000/!
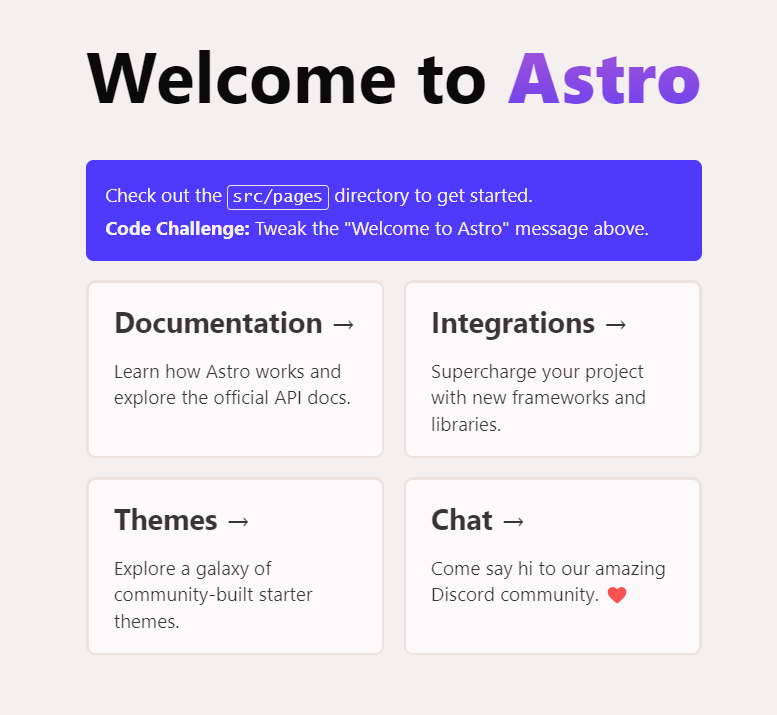
Default Astro starting point.